Adobe Illustrator is a program used by both artists and graphic designers to create vector images. These images will then be used for company logos, promotional uses or even personal work, both in print and digital form." In this class we use Illustrator to design vector files that are compatible with laser and vinyl cutting and laser engraving.
Step by Step Key Chain:
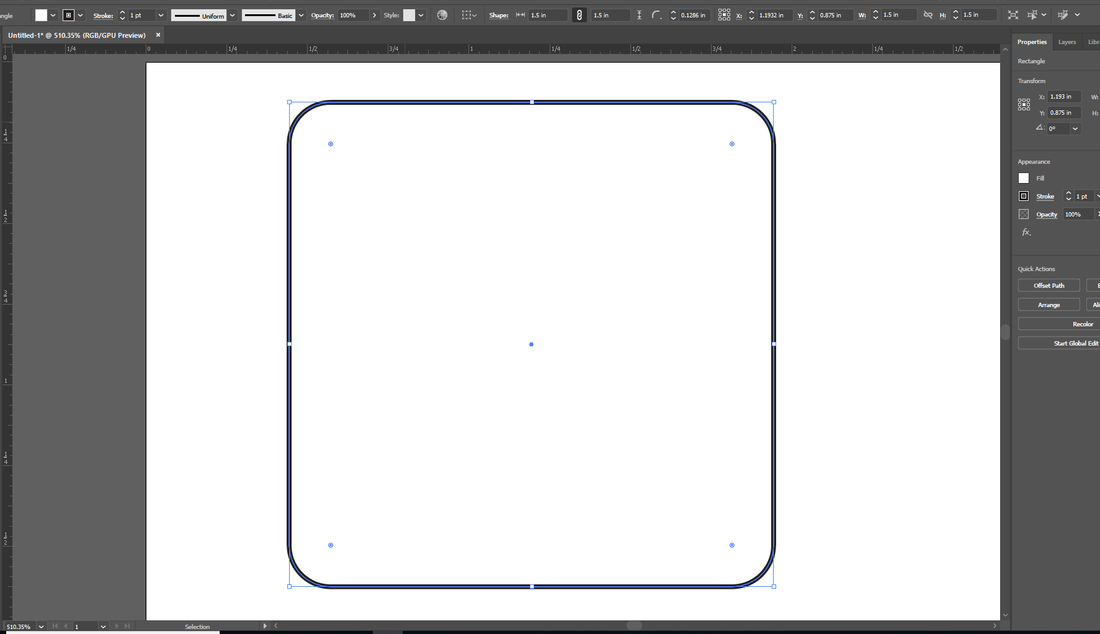
Step 1: Use the shape tool to make the basic shape of what your shape will be. Use the shape tool again to shape a circle for the key chain hole. |
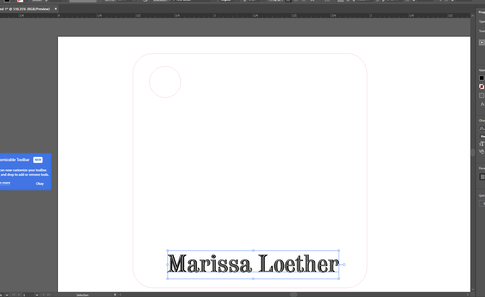
Step 2: Change the outside border and key chain hole red so the laser can cut it out properly. When adding text, make sure to keep it black, so the laser doesn't cut it out. When you have your text finalized, right click on it and create an outline. |

Step 3: Change text, and fonts. Copy and paste black and white clip art from google. Click "image trace", this will make your Raster into a Vector. Resize as seen fit.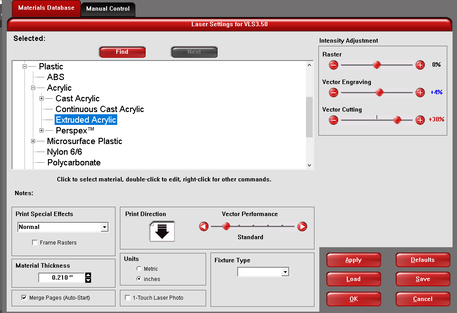
Step 5: Save to flash drive, go down to lab to the laser. Setup and follow handout.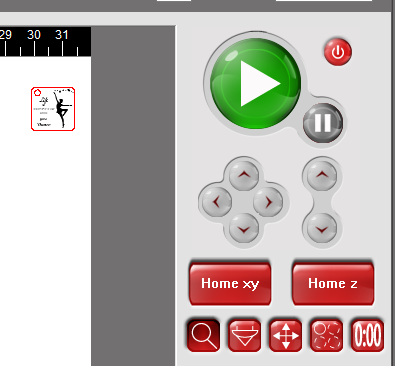
Step 7: Put material on laser, use Focus tool to move the laser to the material. Line the laser up with one of the corners of the printing space on the material. Click the Relocation tool, select the matching corner to where the material is placed on the laser. Go back to focus tool to check, making sure all four corners are on the material. Press the big green play button.
Step 9: The second part of the laser process, involves the cutting. Which is what was red on the design. |

Step 4: Make sure what you want engraved is in black and what you want "removed" out is outlined in red.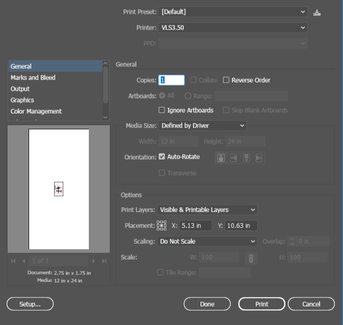
Step 6: Setup... Preferences, use caliper tool to measure thickness of material, click ok. Open the UCP software, and turn on laser. Check that the exhaustion switch is on.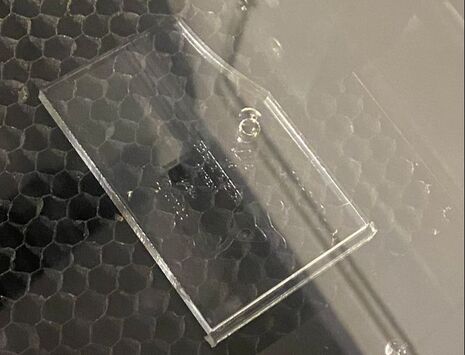
Step 8: First part that the laser does, engraves what was outlined on design.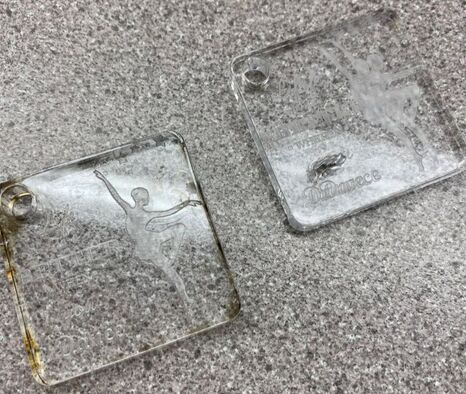
This is why it is very important to make sure to not have words or shapes cut out. I had the word 'you' outline in red. This meant the laser cut it out. So, do not miss the important step of creating black outlines for shapes, images, and text. |
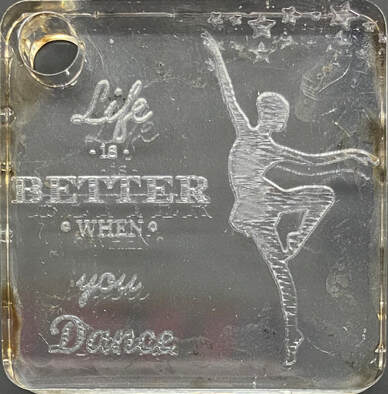
Final Product!
Step by step instructions for applying a vinyl decal:
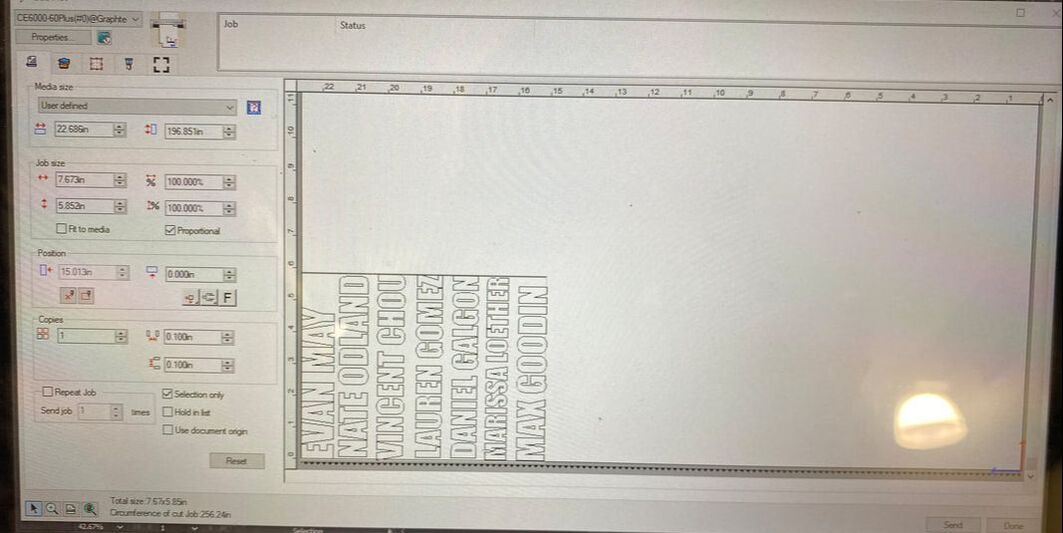
Step 1: create decal to print.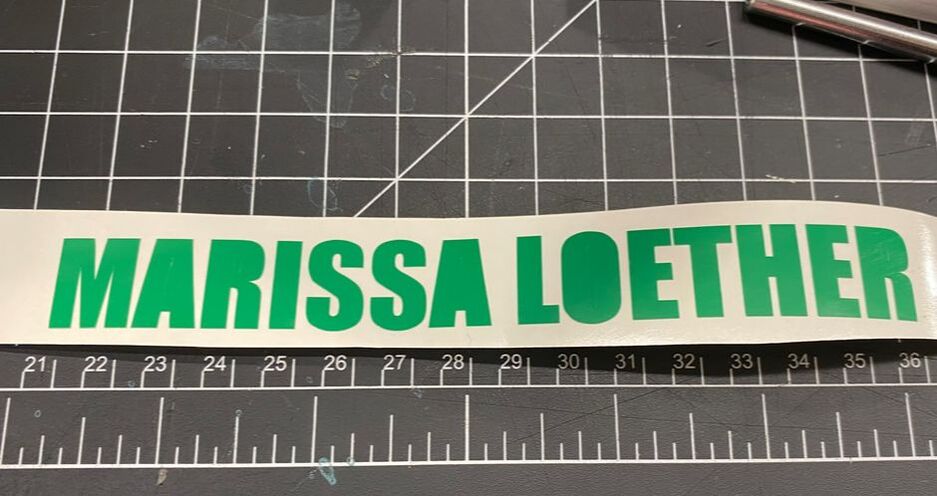
Step 3: after decal is printed out/cut, peal off first layer only. Leaving the letters.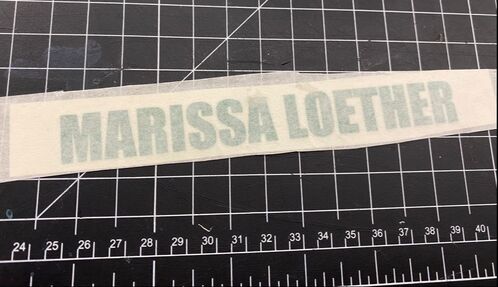
Step 5: put transfer paper over top, and use squeegee tool to press down firmly. |
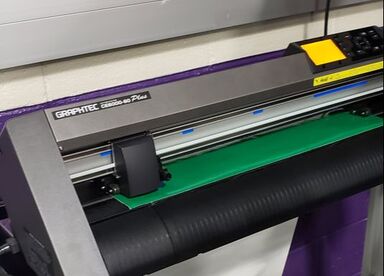
Step 2: after inserting material, line up grid lines and incorporate the "stoppers".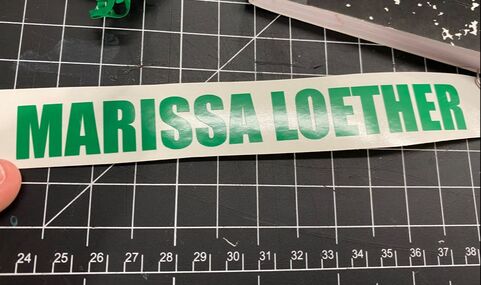
Step 4: use dentist pick tool to peal off insides of letters.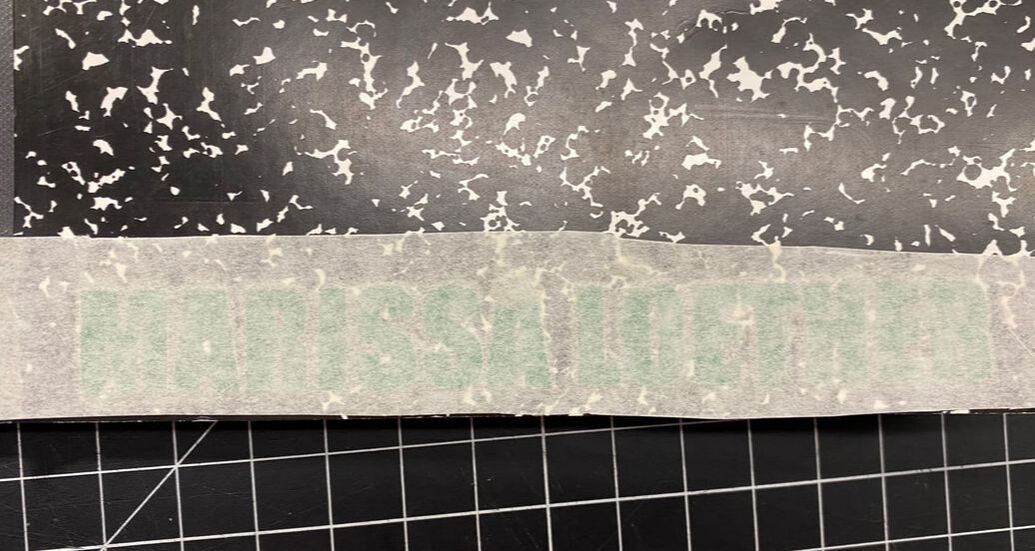
Step 6: peal off decal letters from paper and transfer to notebook. Use squeegee tool again to press letters onto the notebook firmly. |
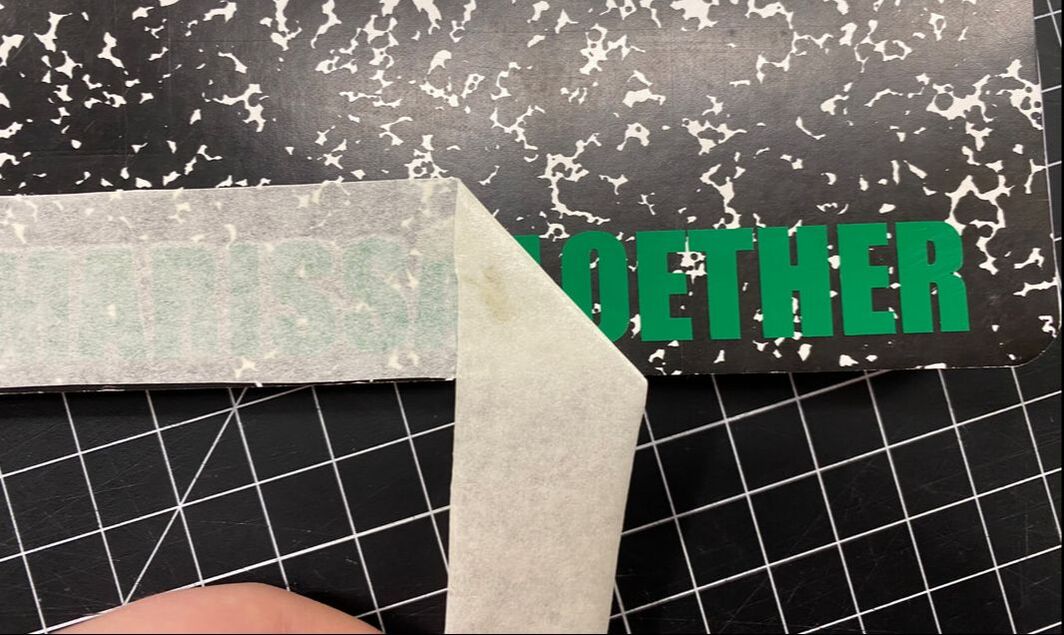
Step 7: carefully and slowly peal off transfer paper at an angle to prevent pealing off the decal as well. |
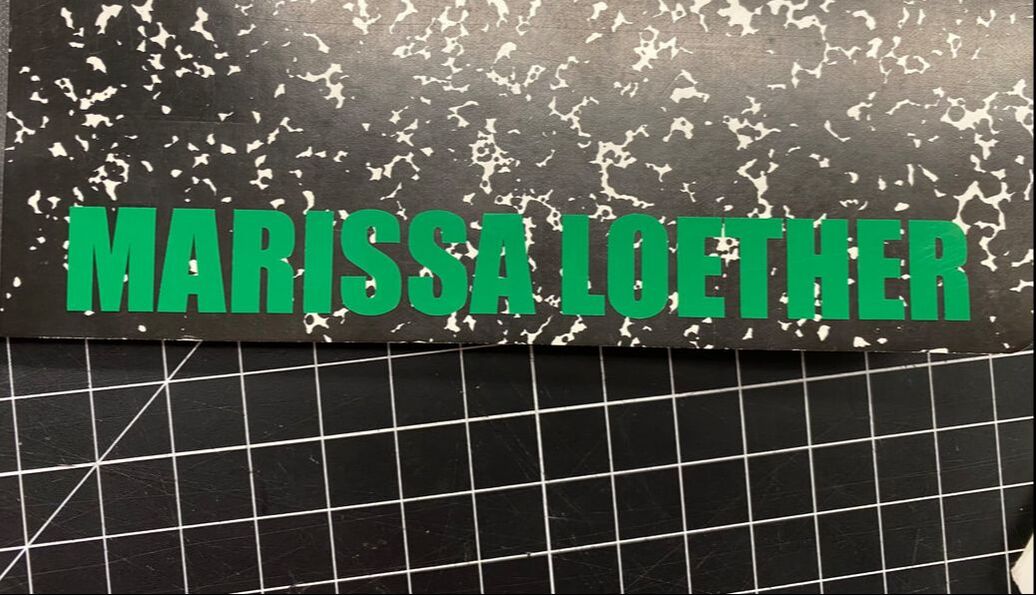
Final Product |
